


Installing asphalt shingles involves preparation such as tearing off the old roof, repairing the deck, and installing drip edge, underlayment, and flashing. The process continues with laying starter shingles, installing field shingles in staggered rows using correct nailing techniques, and finishing with ridge caps. Accurate chalk lines, proper fastening below the seal strip, and following manufacturer instructions are essential for a leak free, durable roof that lasts for decades.
Common Homeowner Questions About Asphalt Shingles
What type of shingles should I put on my roof?
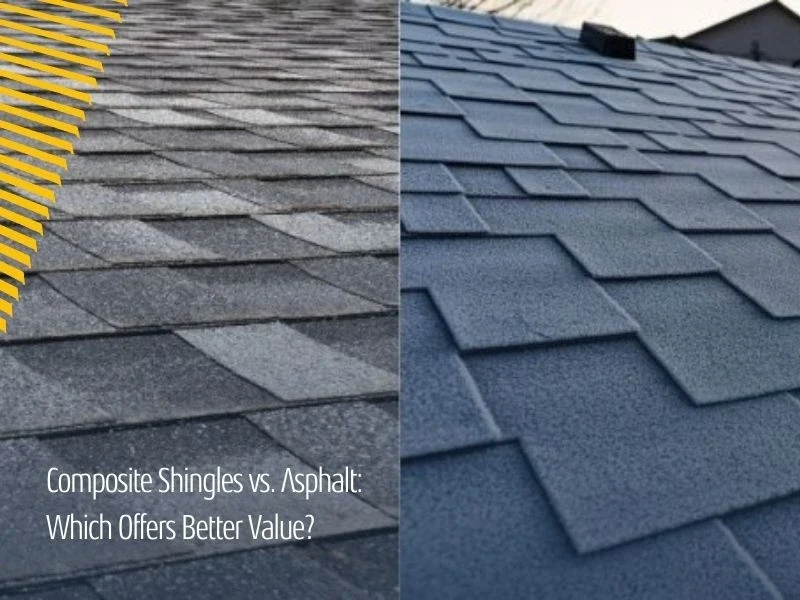
Most homeowners choose either traditional three tab shingles or architectural asphalt shingles. Three tab shingles are cost effective and uniform in appearance, while architectural shingles are thicker, more durable, and offer a dimensional look that mimics wood or slate.
How should asphalt shingles be installed?
Asphalt shingles should be installed from the bottom edge of the roof upward, starting with a starter strip, followed by staggered rows of shingles. Each shingle must be nailed correctly, aligned with chalk lines, and sealed according to manufacturer guidelines to prevent leaks.
What kind of adhesive do you use for shingles?

Most asphalt shingles include a factory applied asphalt seal strip that activates with heat. Roofing cement is typically used only for flashing details, ridge caps, or repairs, not for full field installation.
What type of asphalt roofing shingles is architectural?
Architectural shingles, also called dimensional or laminated shingles, are made of multiple layers of asphalt and fiberglass. They are heavier than standard shingles and are designed to provide enhanced durability and visual depth.
Asphalt shingle roofing installation is one of the most common roofing projects homeowners undertake. Asphalt shingles remain popular because they are affordable, reliable, and available in a wide range of colors and styles. When installed correctly, an asphalt shingle roof can protect a home for 20 to 30 years or more.
This guide is designed to walk homeowners through the full asphalt shingle roofing installation process. You will learn about preparation, materials, step by step installation, common mistakes to avoid, and how to plan your project with confidence. Whether you are evaluating a contractor or simply want to understand how your roof is installed, this guide provides clear and practical insight.
Expert Insight on Proper Asphalt Shingle Installation
According to the Federal Emergency Management Agency, improper shingle fastening and inadequate edge protection are leading causes of roof failure during high wind events. FEMA emphasizes that shingles must be nailed in the correct location and that drip edge and underlayment are critical for preventing water intrusion.
Understanding Asphalt Shingle Roofing Installation
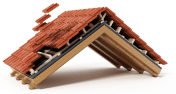
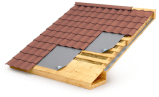
Asphalt shingle roofing installation is a layered system rather than a single material. Each component works together to shed water, resist wind, and protect the structure beneath. Shingles alone do not make a roof waterproof. The deck, underlayment, flashing, and ventilation are equally important.
Homeowners often focus on shingle color or style, but long term performance depends on proper installation. Even high quality shingles can fail early if installed incorrectly. Understanding the full system helps homeowners make informed decisions during a roof replacement.
Preparing for Asphalt Shingle Roofing Installation
Preparation is the foundation of a successful roof installation. The process begins by removing the old roofing material down to the roof deck. This allows the installer to inspect for rot, mold, or structural damage.
Any damaged decking must be repaired or replaced before proceeding. A solid, dry deck ensures nails hold properly and shingles lay flat. Skipping this step can lead to sagging, leaks, and premature roof failure.
Installing Drip Edge and Underlayment
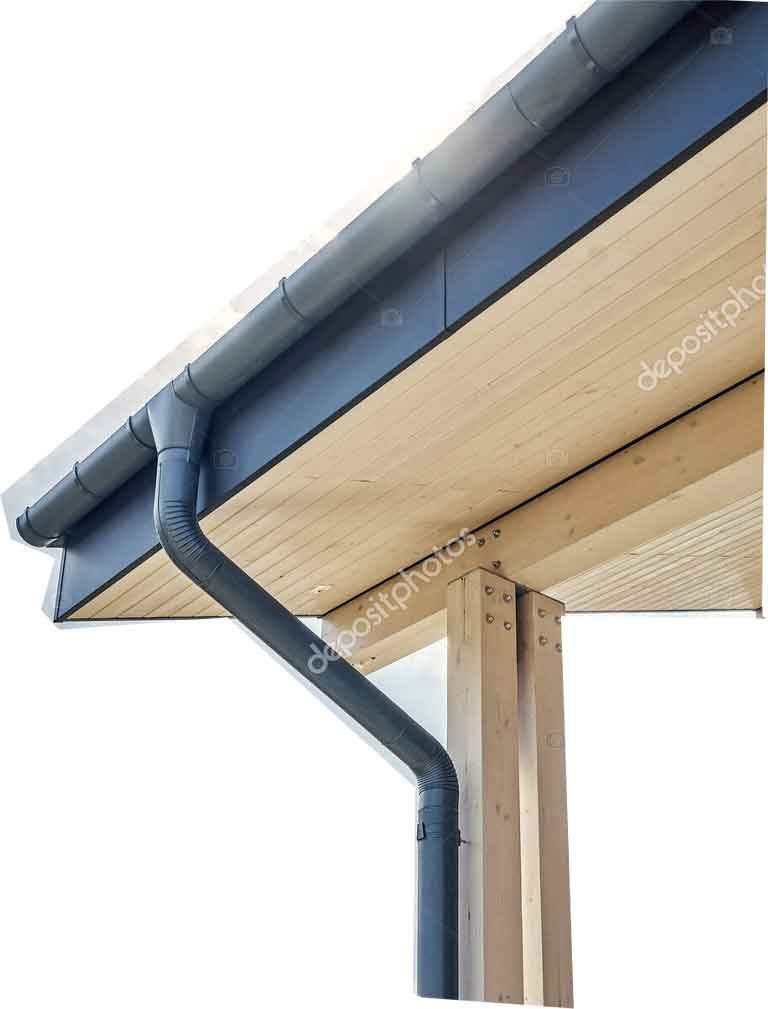
Drip edge is installed along the eaves and rakes of the roof to guide water away from the fascia and into the gutters. It also protects the roof edge from wind driven rain. Drip edge is typically installed at the eaves before underlayment and at the rakes after underlayment.
Underlayment provides a secondary layer of protection beneath the shingles. Synthetic underlayment is commonly used today due to its strength and water resistance. Ice and water shields are installed in valleys, around penetrations, and along eaves in colder climates.
Flashing Installation and Roof Penetrations

Flashing is critical for preventing leaks where the roof meets walls, chimneys, skylights, and vents. Step flashing, counter flashing, and pipe boots must be installed correctly before shingles are laid.
Improper flashing is one of the most common causes of roof leaks. Each flashing piece must overlap correctly to direct water downward and off the roof. This step requires precision and attention to detail.
Laying Starter Shingles Correctly
Starter shingles are installed along the eaves and rakes before field shingles. They provide a clean edge and ensure the first row of shingles seals properly against wind uplift.
The adhesive strip on starter shingles must be positioned correctly to bond with the first course of field shingles. Skipping starter shingles or installing them incorrectly can lead to shingle blow off during storms.
Installing Field Shingles in Staggered Rows
Field shingles are installed starting at the bottom of the roof and working upward. Each row is offset to prevent vertical seams from aligning, which improves water shedding and appearance.
Chalk lines are used to keep rows straight and evenly spaced. Even small alignment errors can become noticeable over the entire roof surface. Consistent spacing ensures a professional finish.
Proper Nailing Techniques for Asphalt Shingles
Correct nailing is one of the most important aspects of asphalt shingle roofing installation. Nails must be placed below the seal strip, driven straight, and flush with the shingle surface.
Overdriven nails can cut into the shingle, while underdriven nails prevent proper sealing. Most shingles require four nails per shingle, though high wind zones may require six. Manufacturer instructions must always be followed.
Valleys and Complex Roof Areas
Roof valleys handle a large volume of water and require special attention. Valleys can be open with metal flashing or closed with woven or cut shingles, depending on design and preference.
Complex roof shapes with dormers or intersecting planes require careful sequencing. Proper layering ensures water always flows over the material below rather than underneath it.
Ridge Vent and Ridge Cap Installation
Ridge vents improve attic ventilation by allowing warm air to escape from the highest point of the roof. After cutting the ridge slot and installing the vent, ridge cap shingles are installed over it.
Ridge caps are cut from matching shingles or purchased as pre formed caps. They are nailed and sealed to provide both ventilation and weather protection.
Final Sealing and Inspection
After installation, the roof should be inspected for exposed nails, improper flashing, or alignment issues. Sealant may be applied to specific areas such as flashing edges or ridge caps as needed.
Over time, sunlight activates the adhesive strips on the shingles, creating a sealed surface. Homeowners should avoid walking on the roof during this period to prevent damage.
Common Mistakes Homeowners Should Avoid

One common mistake is ignoring manufacturer installation instructions. Each shingle product has specific requirements that affect warranty coverage.
Another issue is poor ventilation. Without proper airflow, heat and moisture can build up in the attic, reducing shingle lifespan and causing structural issues.
How Long Does Asphalt Shingle Roofing Installation Take?
Most residential asphalt shingle roofing installation projects take one to three days, depending on roof size, complexity, and weather conditions.
Unexpected deck repairs or complex roof designs can extend the timeline. Planning ahead helps minimize delays and disruptions.
Cost Planning and Transparency for Homeowners
Understanding installation steps helps homeowners evaluate estimates more accurately. Labor, materials, and roof complexity all influence cost.
Modern tools now allow homeowners to see exact pricing without traditional sales pressure. Platforms like SmartQuote let you compare asphalt shingle roofing installation options online and understand pricing before committing.
Long Term Maintenance After Installation
Once installed, asphalt shingles require minimal maintenance. Homeowners should inspect the roof annually and after major storms.
Keeping gutters clean and addressing minor issues early helps extend roof life. A properly installed asphalt shingle roof can perform reliably for decades.
Is Asphalt Shingle Roofing Installation Right for Your Home?
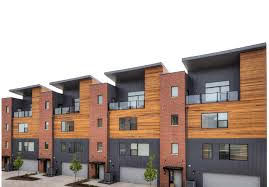
Asphalt shingles remain an excellent choice for most homeowners due to their balance of cost, durability, and appearance.
Understanding the installation process empowers homeowners to make confident decisions and ensures the finished roof meets expectations for performance and longevity.
Key Takeaways
- Asphalt shingle roofing installation is a multi step system, not just shingle placement
- Preparation, underlayment, flashing, and nailing are critical to roof performance
- Starter shingles and staggered rows prevent wind damage and leaks
- Proper installation extends roof life and protects warranties
- Clear pricing tools help homeowners plan with confidence
Get Started with Your Roof Today
Ready to see exactly what your roof replacement will cost and buy it entirely online without the sales pitch? Get your free SmartQuote today in just minutes through SmartPRO Roofing’s online platform.
SmartQuote allows you to explore asphalt shingle roofing installation options, compare materials, and plan your project with complete pricing transparency.
Related Reading: